Skip to main content
Menu
Home
About
About the Practice Overview
Meet Dr. John Sarbak
Meet Nurse Practitioner Keely D. Chandler
Meet the Staff
Blog
Patient Reviews/Testimonials
Financing
Specials
Out of Town Patients
Patient Satisfaction Survey
Surgical Procedures
Plastic Surgery Procedures
Breast Procedures
Breast Procedures Overview
Breast Augmentation
Breast Lift (Mastopexy)
Breast Augmentation with Lift
Breast Reduction
Revision Breast Surgery
Breast Reconstruction
Breast Implant Removal
Male Breast Reduction (Gynecomastia)
Body Contouring
Body Contouring Procedures
Tummy Tuck (Abdominoplasty)
Liposuction
CoolSculpting
®
Post Weight Loss Surgery
Mommy Makeover
Fat Grafting (Fat Transfer)
Facial Procedures
Facial Procedures Overview
Facelift
Brow Lift
Eyelid Surgery (Blepharoplasty)
Nose Surgery (Rhinoplasty)
Ear Surgery (Otoplasty)
Non-Surgical Procedures
Non-Surgical and Skin Care Procedures
BOTOX
®
Cosmetic and Dysport
®
Juvéderm
®
Sculptra
®
Restylane
®
CoolSculpting
®
Skin Care
Laser Treatments
Microneedling
HydraFacial
®
Skin Treatments
Renuvion
®
The Perfect Derma™ Peel
Weight Loss Treatments
Massage Services
The Aesthetic Center
Photo Gallery
Contact Us
Virtual Consultations
Contact
Main Office: (772) 563-0930
Aesthetics Center: (772) 213-8877
A Unique Combination of
Plastic Surgery Expertise & PERSONALIZED CARE
Extraordinary Care
Unparalleled Results
Back to Gallery
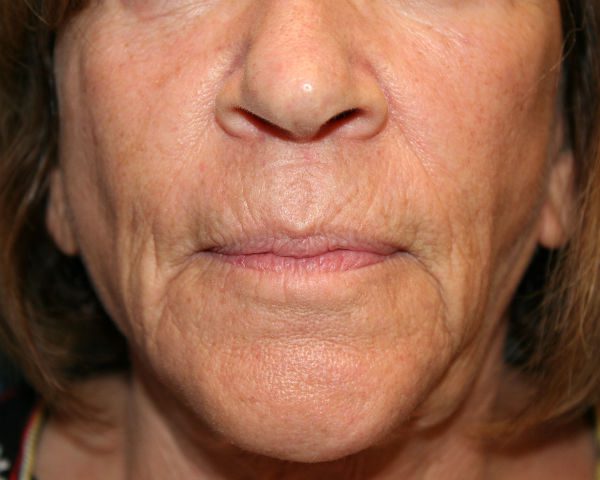
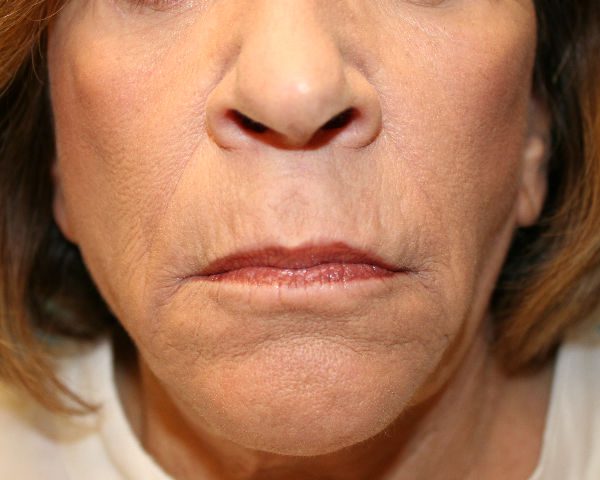
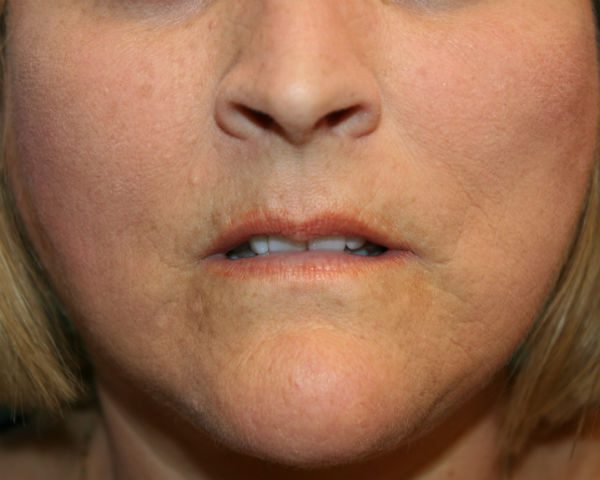
Juvederm
®
Patient 1
Before
After
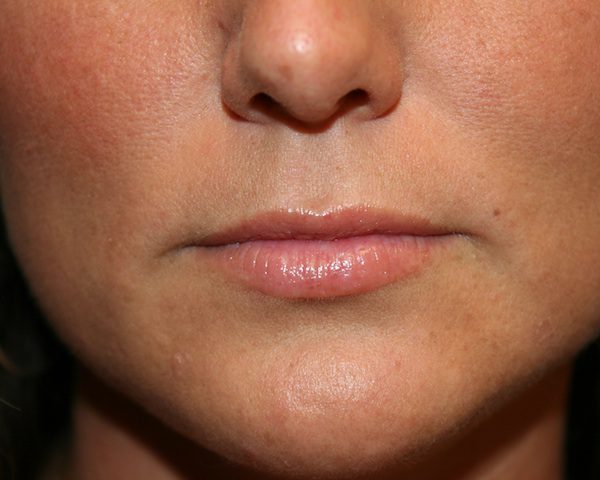
Patient 2
Before
After
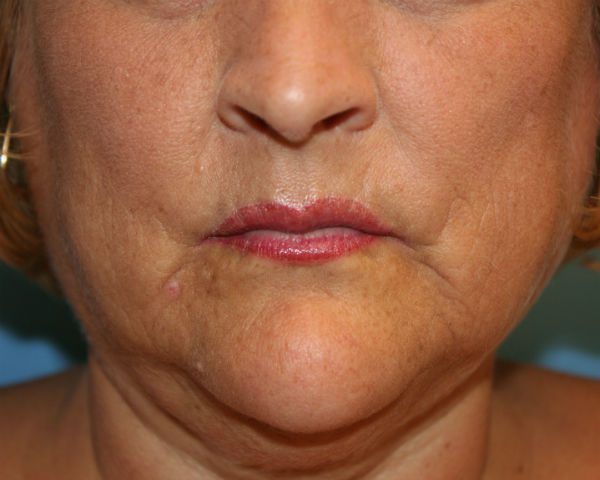
Patient 3
Before
After
Please ensure Javascript is enabled for purposes of
website accessibility